Custom Laser Engraved Travel Gifts: The Technical Guide to Stone Laser Etching
A flight path vector file or precise GPS coordinates can be permanently etched into solid stone. Wood and acrylic burn or vaporize neatly under a laser beam. Laser etching slate crafts and granite keepsakes relies on controlled thermal fracturing instead. Understanding how stone reacts to CO2 lasers ensures sharp, readable line work that lasts generations.
Choosing the Right Stone: Geological Factors Affecting Laser Etching
Not all stones handle thermal stress equally. Dark natural slate and polished black granite yield the highest contrast for travel artwork. Slate features a layered, fine-grained structure composed of clay minerals, quartz, and mica. When hit by a laser pulse, sudden surface heating causes tiny micro-cracks that flake off the top layer. This reveals a bright white or light grey mark beneath.
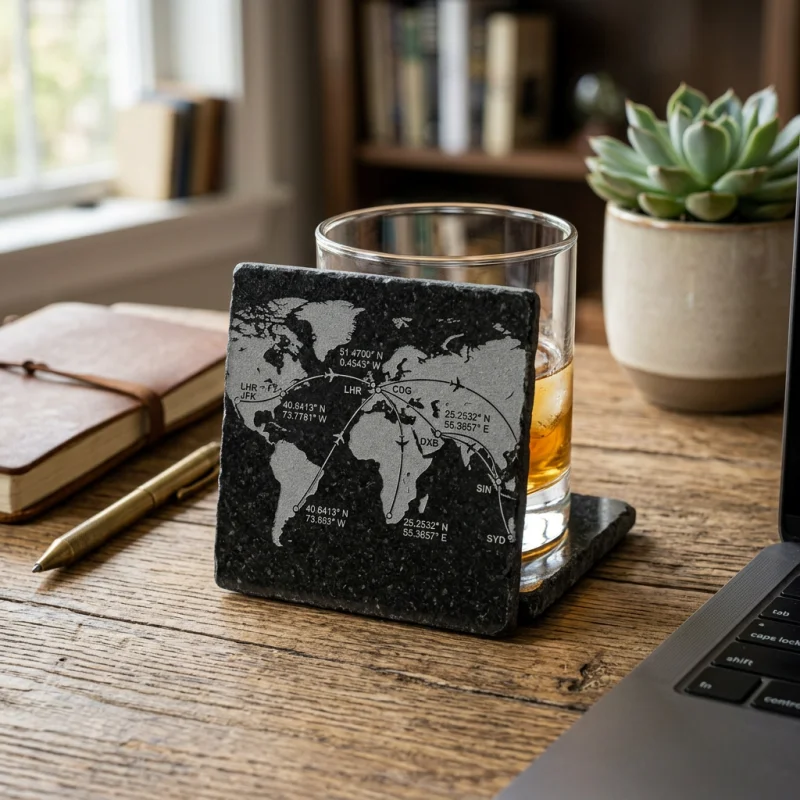
Granite requires a different structural consideration. Polished black granite consists of dense quartz, feldspar, and amphibole. Laser energy fractures the dark polished face, creating bright frosted dots against a glossy backdrop. This process makes it ideal for dense topographical maps and high-detail flight paths.
Some stones introduce significant processing hurdles. River rocks feature curved surfaces with height variations often exceeding 3 millimeters. Because standard focal lenses have a depth of field between 1.5mm and 2mm, off-center regions drift out of focus. This defocusing widens the laser spot and blurs intricate map lines. High-iron stones present another issue. When exposed to temperatures above 600°C under the laser beam, iron oxides inside the rock oxidize instantly. Instead of crisp grey or white marks, the engraved path turns a muddy reddish-brown.
Preparing Digital Travel Artwork for Stone Engraving
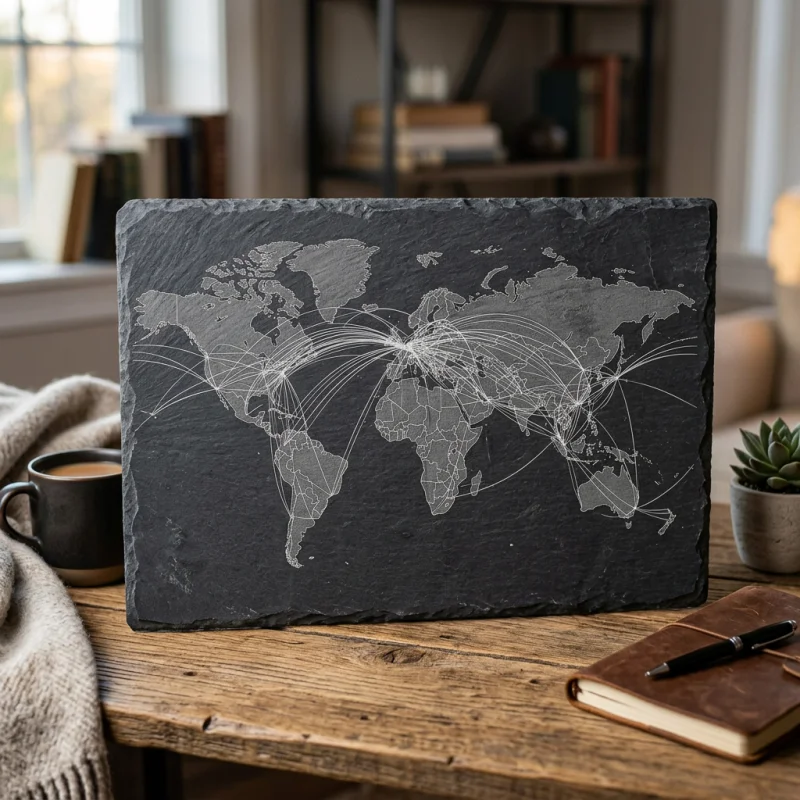
Laser stone engraving uses two distinct processing modes: raster etching and vector scoring. Rastering functions like an inkjet printer, sweeping back and forth to engrave shaded areas, flight path vectors, or topography. Vector scoring follows line paths directly to cut clean borders or fine coordinate text.
File preparation requires strict rules:
- Convert all flight maps and GPS text to pure black-and-white (1-bit bitmap) graphics. Gray tones don't convert predictably on stone because depth control isn't uniform.
- Set line weights to a minimum of 0.4 points (0.14 mm). Thinner lines disappear if micro-flaking spans across the line boundary.
- Invert artwork colors when etching dark stone. The laser-etched area turns lighter, so landmasses and map tracks must be black in your source file to engrave as bright white features.
- Match artwork resolution to target output resolution. Artwork designed at 300 to 600 DPI ensures crisp vector transitions without pixel artifacts.
Laser Mechanics: How 50W-80W CO2 Lasers Micro-Fracture Stone
CO2 laser engravers operating at a 10.6-micrometer wavelength are standard for stone processing. Stone absorbs energy at this wavelength efficiently. Unlike organic materials, stone doesn't melt or char. Instead, the rapid temperature rise causes localized thermal expansion within a microsecond window. This stress forces localized mechanical spalling—microscopic flaking of the stone surface.
Power management is critical. Excessive power splits slate layers along natural cleavage planes or creates deep micro-cracks that compromise structural integrity. Low power fails to trigger thermal fracturing, leaving weak, patchy marks. A 50W to 80W CO2 laser tube offers the exact power range needed to fracture the surface without causing deep structural stress.
Resolution selection directly dictates detail and processing speed. Setting the machine between 300 and 600 DPI produces optimal line density. Below 300 DPI, individual raster lines become visible, breaking up thin GPS digits. Above 600 DPI, overlapping thermal zones trap heat in the rock, leading to excessive micro-cracking and blurred edges.
CO2 Laser Processing Parameters for Travel Keepsake Stones
Parameters vary based on stone density and finish. The table below lists baseline values for a standard 60W CO2 laser using a 2.0-inch focal length lens.
| Stone Material | Process Mode | Laser Power (%) | Speed (mm/s) | Resolution (DPI) | Air Assist Level |
|---|---|---|---|---|---|
| Natural Dark Slate | Raster Engraving | 20% - 30% | 300 - 400 | 300 - 450 | Low (5 PSI) |
| Natural Dark Slate | Vector Line Scoring | 12% - 18% | 40 - 60 | Vector Line | Low (5 PSI) |
| Polished Black Granite | Raster Engraving | 25% - 35% | 250 - 350 | 400 - 600 | Medium (10 PSI) |
| Polished Black Granite | Vector Line Scoring | 15% - 22% | 30 - 50 | Vector Line | Medium (10 PSI) |
| Smooth River Stone | Raster Engraving | 35% - 45% | 200 - 300 | 300 - 400 | High (15 PSI) |
Mitigating Micro-Cracking and Managing Heat
To prevent heat accumulation on large etched areas like detailed continental maps, use a frequency setting (PPI/Hz) that separates laser pulses slightly. Air assist plays an important role here. Running a low airflow clears stone dust from the beam path without cooling the surface too rapidly. Cooling stone too quickly while applying laser heat causes macroscopic cracking across slate veins.
Dither patterns also affect micro-fracturing quality. When processing raster images, pass the file through a Stucki or Jarvis dithering algorithm. Dithering breaks solid filled areas into spaced pixel patterns. This reduces heat density and prevents large patches of stone from spalling unevenly.
Contrast Optimization Techniques
Freshly laser-etched stone exhibits high contrast due to trapped air and fine dust in the micro-fractures. Washing the stone removes loose debris, which can reduce contrast slightly on raw slate. Two finishing techniques resolve contrast loss:
1. Clear Coating (Unsealed vs. Sealed Slate)
Applying a thin coat of clear acrylic lacquer darkens un-engraved slate background areas by dampening light diffusion. The etched micro-fractures remain light grey because the coat fills only shallow surface pores. However, thick glossy coats flood the fractures completely, reducing contrast. A light matte spray seal preserves the bright white etching while protecting slate against oil stains from hands.
2. Acrylic Color Infilling for Granite
Polished black granite displays sharp contrast on its own. Adding white or metallic acrylic paint inside vector lines makes detailed flight tracks pop. Spray target areas with acrylic paint immediately after engraving, then wipe the surface clean with isopropyl alcohol. The paint remains trapped inside the laser-etched depressions while sliding off the smooth polished stone face.
Step-by-Step Production Workflow for Stone Travel Keepsakes
Creating custom laser engraved travel gifts follows a precise sequence from raw stone to finished display piece:
- Material Inspection: Check slate or granite slabs for natural fault lines, high iron veins, or surface bowing exceeding 1mm.
- Surface Cleaning: Wipe stone with isopropyl alcohol to clear surface oils, dirt, and polishing residue.
- Focusing: Set laser focal distance precisely using a step gauge. For uneven river stones, target the midpoint of the height curve.
- Raster & Vector Execution: Execute raster artwork (maps, text blocks) first, followed by vector path scoring for crisp line accents.
- Post-Engraving Debris Removal: Use a soft nylon brush to clear trapped stone dust from etched grooves.
- Sealing or Infilling: Apply matte acrylic sealant for slate, or paint-fill and wipe for granite details.
Can any rock collected from a vacation trip be laser engraved?
No. Rocks with high iron content turn red or yellow when exposed to laser heat. Flat, dark stones high in quartz or fine clay minerals, like slate and granite, yield clean, high-contrast results. Rocks with rounded, uneven surfaces often drift out of focal range, causing blurry engravings.
Why does laser etched slate sometimes lose white contrast after washing?
Laser etching relies on micro-fracturing the stone surface. Fine stone dust trapped in these microscopic fractures reflects light, making the engraving look bright white. Washing removes loose dust particles. Applying a light matte clear coat darkens the raw background stone again while locking in light reflection on etched areas.
What is the best laser DPI setting for fine map details on stone?
Settings between 300 DPI and 450 DPI work best for most slate and granite applications. Going above 600 DPI concentrates too much heat in a small area, causing micro-cracks to merge and detail to blur.